A List of The 25 Best Ruby on...
May 8, 2024
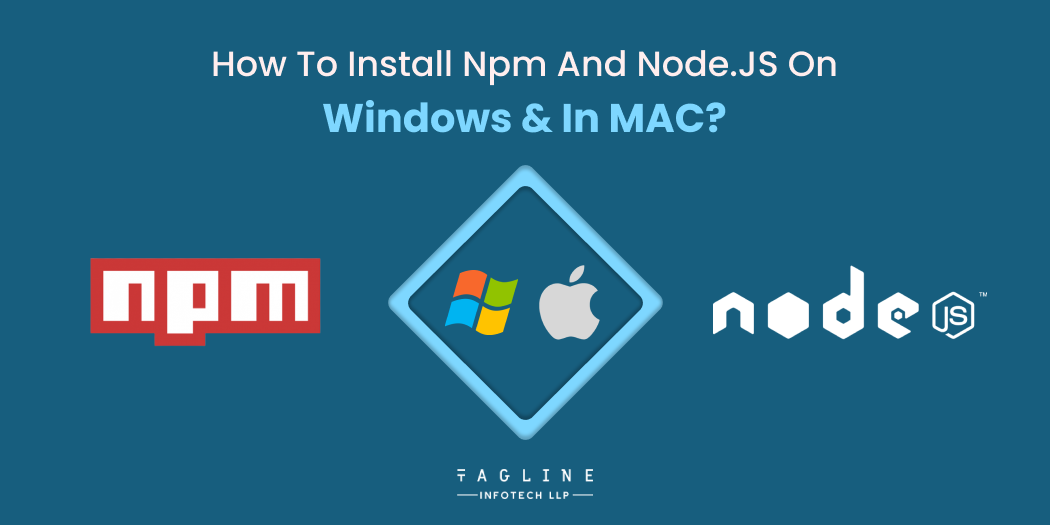
Home >> Node.JS >> How to Install Npm And Node.jS on Windows and in MAC?
Quick Summary
Node.js is an open-source, cross-platform runtime for executing JavaScript code outside browsers, widely used for building back-end services by major companies. NPM (Node Package Manager) is a free, open-source library and registry for JavaScript packages, offering command-line tools for package installation and dependency management. Node.js and NPM installations on Windows involve downloading the installer, selecting options, and verifying versions, while on Mac, Homebrew simplifies the process with a single command.
An open-source, cross-platform runtime environment called Node.js allows JavaScript code to be executed outside a browser. NodeJS is neither a programming language nor is it a framework. Back-end services like APIs for web apps and mobile apps are built with Node.js. Big corporations like Paypal, Uber, Netflix, Walmart, and others use it in manufacturing.
npm stands for Node Package Manager. It’s a library and registry for JavaScript software packages.
npm also has command-line tools to help install the different packages and manage their dependencies.
npm is free and relied on by over 11 million developers worldwide. You could say it’s kind of a big deal. They’re open-source and have become the center of Javascript code sharing. There are more than a million packages available on npm.
In short, npm is:
Here are some points regarding hardware and software requirements:
Hardware Requirements
Software Requirements
Since we’ve chosen to use Node.Js to construct an application, you must first install Node.Js on your Windows computer.
We will now walk you through the installation procedure step-by-step. Now, let us begin with the initial step.
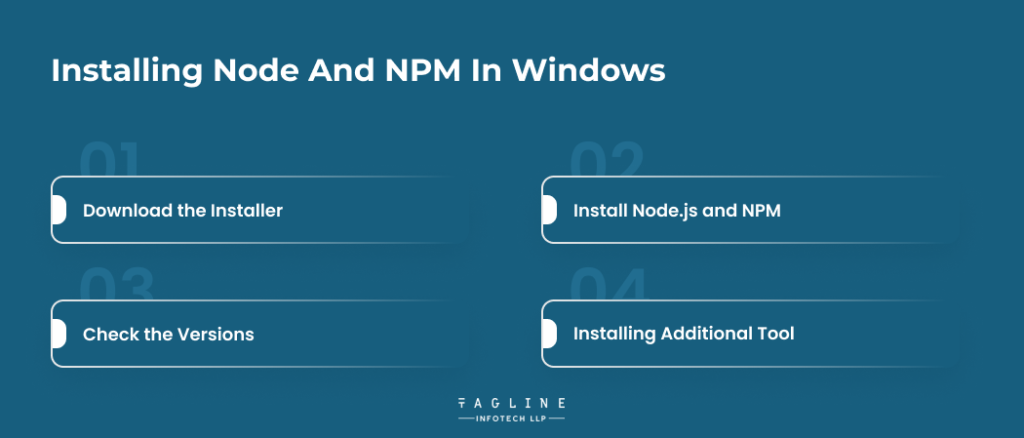
Download the Windows Installer from NodeJ’s official website. Make sure you have downloaded the latest version of NodeJs. It includes the NPM package manager.
The LTS (Long-term Support) version is highly recommended for you. After downloading the installer package, install it with a double-click on it.
Now .msi file will be downloaded to your browser. Choose the desired location for that.
After choosing the path, double-click to install .msi binary files to initiate installation. Then, give access to run the application.
You will get a welcome message on your screen and click the “Next” button. The installation process will start.
You should have 143MB of space to install Node.js and npm features.
The following features will be installed by default:
After the installation, you can verify that Node.js and NPM have been installed successfully by opening a command prompt or PowerShell window and typing the following commands:
node -v
npm -v
This will display the installed versions of Node.js and NPM.
If you want to install additional tools globally, you can use npm. For example, you might want to install the Node.js package nodemon for automatic server restarts during development. To install nodemon globally, use the following command:
npm install -g nodemon
The -g flag installs the package globally, making it available from any directory.
” Difference Between NPX and NPM? “
– Also Read Article
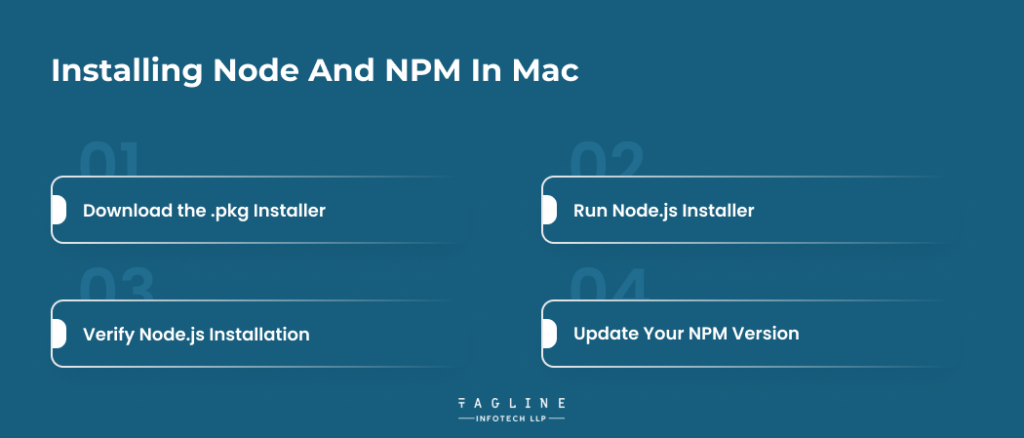
Click on the “macOS Installer” option to download the .pkg installer. Make sure you download it to your desired location.
Now, your installer is ready to run. However, it will not take you much time. So, let’s explain in detail here.
Introduction > Continue License > Select Continue > Agree Installation Type > Install > Authenticate with your Mac to allow the Installation > Install Software Summary > Close
To verify whether you have properly installed Node.js in your macOS, run the following command in your terminal:
Node -v node -v // The command we ran – tests the version of Node.js currently installed v12.13.0 //Node.js installed. It can be some other version.
Node.js doesn’t automatically update the version of npm.
Write a given command, and your npm version will be updated.
$ sudo npm install npm –global // Update thenpmCLI client
Tadda! Node.js is there on your Mac system. Interesting, right? Let’s explore it further.
Dive into the world of npm and unleash the full potential of Node.js!
Looking to take your projects to the next level, consider hiring our expert Node.js developer team.
To install Node.js and NPM on a Mac using Homebrew, follow these steps for How to Install NPM on Mac:
Once Homebrew is installed, you can install Node.js and NPM. Open your terminal and run the following command:
brew install node
This command installs both Node.js and NPM. It might take some time to download and install the packages.
After the installation, you can verify that Node.js and NPM are installed by checking their versions. Run the following commands in your terminal:
node -v
This command should output the installed Node.js version.
npm -v
This command should output the installed NPM version.
Node.js empowers developers to run JavaScript outside browsers, facilitating the creation of robust back-end services. NPM, a crucial companion, is a free, open-source package manager with vast code-sharing capabilities. Whether on Windows or Mac, the installation processes are user-friendly, opening doors to a world of JavaScript development possibilities. In the realm of Node.js Development Company, expertise in harnessing the power of Node.js is essential for creating scalable and efficient server-side applications.
NPM is a free and open-source library and registry for JavaScript software packages. It provides command-line tools for installing packages and managing dependencies.
Follow our step-by-step guide:
Explore two methods: Use the .pkg installer for a straightforward process or leverage Homebrew for seamless installation with a single command.
Use the command $ sudo npm install npm --global to update your Mac system's NPM CLI client globally.
Absolutely! Use the command npm install -g <package-name> to install tools globally, making them accessible from any directory. For example, npm install -g nodemon for automatic server restarts during development.

May 8, 2024

May 8, 2024

May 8, 2024

Digital Valley, 423, Apple Square, beside Lajamni Chowk, Mota Varachha, Surat, Gujarat 394101
+91 9913 808 2851133 Sampley Ln Leander, Texas, 78641
52 Godalming Avenue, wallington, London - SM6 8NW